How to Calibrate Monitor Without Colorimeter: Windows, Mac
Different monitors display colors differently out of the box, so a photo that looks warm on your screen might appear flat and blue elsewhere. Calibration aligns your display with standard color spaces, and you don’t need expensive hardware to achieve solid results. Here’s how to calibrate your monitor using tools built into Windows, macOS, and even your laptop.
QHD Resolution: 2560×1440 · Full HD Resolution: 1920×1080 · Windows Tool: Display Color Calibration · Mac Tool: Display Calibrator Assistant
Quick snapshot
- Windows and Mac both have built-in calibration wizards (ViewSonic Library)
- Visual calibration targets gamma 2.2 for consistent shadow and highlight rendering (YouTube: Can You Calibrate a Monitor WITHOUT a Colorimeter?)
- How much accuracy you lose compared to hardware calibration for casual use (ViewSonic Library)
- Apple published Pro Display Calibrator documentation continuing to emphasize hardware-only recalibration (Apple Support)
- Understanding when a colorimeter becomes worth the investment versus visual methods (Eclectic Light Co)
The table below consolidates key specifications referenced throughout this guide.
| Specification | Value | Source |
|---|---|---|
| QHD Definition | 2560×1440 resolution | ViewSonic Library |
| Full HD Standard | 1920×1080 | ViewSonic Library |
| Windows Calibration Path | Settings > Display > Calibrate | Linus Tech Tips |
| Target Gamma Value | 2.2 | YouTube |
| RGB Default Value | 50 | YouTube |
| Recommended Brightness | 140 nits for moderate rooms | YouTube |
Is it worth calibrating your monitor?
If you spend any time working with photos, videos, or design work, an uncalibrated monitor is silently sabotaging your output. Colors you think look right might be 10-15% off from standard, which means a photo that looks warm and golden on your screen reads flat and blue on everyone else’s. Calibration fixes that gap.
Benefits for color accuracy
When you calibrate, you’re setting your monitor’s white point, gamma, and color balance to match industry standards. The ViewSonic Library notes that this improves color representation across the board, making sure that reds aren’t too saturated, blues aren’t crushed, and skin tones look natural. For photographers, designers, and anyone doing print work, this isn’t optional — it’s essential.
Content creators who skip calibration are essentially guessing whether their work will look right elsewhere. Calibration removes that guesswork.
When calibration matters most
Factory-calibrated monitors like the ViewSonic ColorPro VP2788-5K come with presets, but ViewSonic notes that serious recalibration still requires an external colorimeter. For the rest of us with consumer-grade displays, visual calibration makes the most sense when you work across multiple screens or need to match your laptop display to an external monitor.
What this means: casual users watching Netflix might not notice much difference, but anyone doing creative work will see the payoff immediately.
How do I tell if my monitor is calibrated?
Before spending time adjusting settings, run a quick visual check. Online test patterns are free and give you immediate feedback on what’s off.
Visual test patterns
Head to the Eizo Monitor Test page and run the white balance and uniformity checks. These tests show you whether your screen has dead pixels, backlight bleed, or color casting. YouTube tutorials demonstrate using Eizo for white balance checks and Lagom for more detailed adjustments.
Phone camera apps marketed for calibration are unreliable — user reports consistently show they produce inaccurate readings. Direct eye-matching against reference patterns works better than trusting your camera app.
Gradient checks
The Lagom LCD Test is the standard for this. Look at the gradient test and check for visible banding — if you see distinct steps instead of a smooth transition, your gamma is off. Guides recommend squinting slightly and looking for whether the gradient “breathes” or looks striped.
What this means: banding in gradients directly indicates gamma misalignment that needs correction.
How to correctly calibrate a monitor?
The foundation of any good calibration is starting from a clean slate. Calibration tutorials universally recommend resetting your monitor to factory defaults before making any adjustments — this removes whatever guesswork previous users made and gives you a known starting point.
Prepare workspace
- Let your monitor warm up for 30 minutes — cold displays show different colors than warmed-up ones
- Set ambient lighting to what you’d normally work in — too bright or too dark skews your perception
- Place a sheet of white paper next to your screen for color reference
Basic settings adjustment
Disable adaptive brightness (also called “auto brightness” or “content-aware brightness”) in your display settings. Guides explain that adaptive brightness causes your monitor to constantly shift its output based on what’s on screen, making consistent calibration impossible.
For RGB adjustments, calibration creators note that you should almost never push values higher than the default of 50 — only dial them downward. This prevents overdriving colors and maintains headroom.
How to calibrate monitor color in Windows 11 and Windows 10?
Windows includes a built-in calibration tool that walks you through gamma, brightness, contrast, and color balance. It won’t match hardware precision, but users report it makes noticeable improvements for general use.
- Open Settings → Display → Advanced display
- Click Calibrate color under “Color calibration”
- Follow the on-screen prompts for gamma, brightness, contrast, and color balance
For Nvidia users, the NVIDIA Control Panel offers additional gamma sliders under “Adjust Desktop Color Settings” that let you fine-tune beyond what Windows provides. This is particularly useful after you’ve run the Windows wizard and still see slight issues.
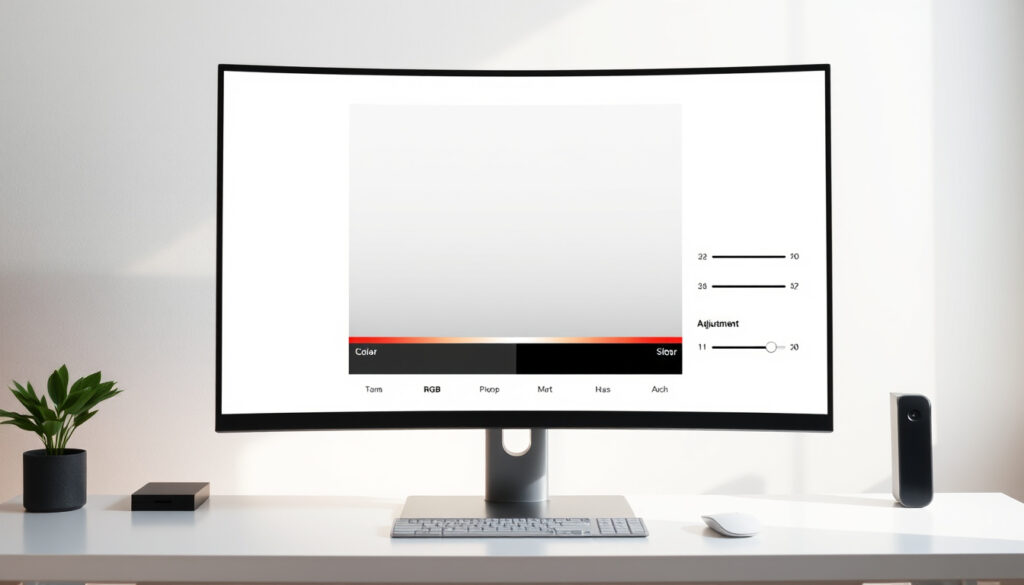
Use Display Color Calibration tool
The Windows calibration wizard presents you with a series of test patterns. For gamma, adjust the slider until the center of the circles blends smoothly into the background. For brightness, make sure you can distinguish the feather pattern without the top row disappearing into black. The process takes about 10-15 minutes and users confirm it produces a usable profile for everyday work.
Follow on-screen steps
Each step in the wizard has clear instructions. Read them carefully — rushing through gamma or brightness adjustments defeats the purpose. When complete, Windows saves your calibration as a color profile that loads automatically.
The implication: Windows calibration is free and better than nothing, but it’s still subjective. Your eyes are the judge, and they’ll get tired if you spend too long staring at test patterns.
How to calibrate monitor without colorimeter?
Visual calibration uses your eyes as the reference instrument. It’s less precise than hardware but entirely free and good enough for most people who aren’t working in professional color-critical environments.
Visual methods with test images
The Lagom LCD Test provides specific images for gamma, contrast, and response time. For gamma specifically, tutorials recommend squinting slightly and adjusting until the vertical columns appear to blend together — you’re aiming for a gamma of 2.2, the standard for sRGB displays. If you’re looking for a professional way to announce your departure, you can find a helpful $letter of resignation template.
Color bars technique
Match your monitor’s white point to ambient light by placing white paper next to your screen. Guides explain that you adjust RGB sliders downward until your monitor’s white matches the paper’s white under room lighting. This cross-device matching technique works across monitors and even between your monitor and phone display.
Visual calibration gets you roughly 80% of the accuracy of a colorimeter at zero cost. The remaining 20% matters for print matching and professional color work — that’s when a colorimeter becomes worth the investment.
What this means: you can achieve solid results with free tools, but “good enough” depends entirely on what you’re using your monitor for.
Monitor Calibration Step by Step
Here’s a practical workflow combining the best of built-in tools and visual techniques.
- Reset to factory defaults — Use your monitor’s OSD menu to restore original settings. This clears any prior adjustments that might interfere.
- Warm up the display — Power on and let it run for 30 minutes before calibrating.
- Disable adaptive features — Turn off auto-brightness, HDR auto-detection, and any content-aware display modes.
- Run Windows or Mac calibration wizard — Follow the on-screen prompts for gamma, brightness, and contrast.
- Use online test patterns — Visit Lagom and Eizo to fine-tune gamma (target 2.2) and check white balance.
- Cross-reference with paper — Place white paper beside your screen and adjust RGB until whites match.
- Fine-tune with NVIDIA Control Panel or Mac System Settings — Make final gamma adjustments if needed.
- Save and name your profile — Create a descriptive name so you can reload it later.
Upsides
- Completely free — uses built-in tools and free websites
- No additional hardware required
- Visible improvement for multi-monitor setups
- Quick process: 15-30 minutes total
- Works on Windows, Mac, and laptops
Downsides
- Subjective — accuracy depends on your eyes and lighting
- Insufficient for professional color-critical work
- Results vary between monitors due to panel limitations
- Needs repeating when lighting conditions change significantly
- Can’t achieve Pantone or print-matching precision
“No matter what you do, one monitor will produce its image slightly different from the next.”
— Photographer Guide (YouTube)
“It’s helpful for basic calibration, but it relies on visual judgment and has limited precision.”
— Monitor Manufacturer Guide (ViewSonic)
“The only option for display recalibration is to a ‘factory’ standard using high-end instruments.”
Related reading: AIB App Android Issues: How to Fix Not Working Problems · Video Chat with Strangers – Best Free Apps and Safety Tips 2025
Laptop users often extend their display first by following a reliable dual monitor connection guide, ensuring seamless calibration across Windows 11, 10, or Mac setups afterward.
Frequently asked questions
How to calibrate screen resolution?
Resolution calibration isn’t about color — it’s about ensuring Windows or macOS is set to your monitor’s native resolution. On Windows, go to Settings > Display > Resolution and select the highest option (usually marked “Recommended”). On Mac, use System Settings > Displays to select the native resolution. Running at a non-native resolution causes blur because the display has to scale pixels.
Is 2560×1440 considered 4K?
No. 2560×1440 is QHD (Quad HD), which is roughly one quarter of 4K’s total pixels. True 4K starts at 3840×2160. QHD monitors are common in the 27-inch range and offer a good balance of screen real estate and pixel density without requiring as powerful a GPU as 4K.
Why does my 1920×1080 monitor look blurry?
If your 1920×1080 display looks blurry, you’re likely running at a lower resolution or have scaling enabled. Check that your display settings match the monitor’s native 1920×1080 resolution. Also verify ClearType is enabled on Windows (run “ClearType Text Tuner” from the Start menu) — this optimizes font rendering for flat-panel displays.
How to calibrate monitor on Mac?
On Mac, open System Settings > Displays > Color Profile, then click “Customize” to access the Display Calibrator Assistant. ViewSonic notes that the Mac calibrator offers an “Expert Mode” for more granular control. For external monitors, select the appropriate profile like Display P3 under System Settings > Displays > Color Profile.
How to calibrate monitor on a laptop?
Laptop calibration follows the same principles as desktop monitors but with additional considerations. Disable adaptive brightness in your laptop’s display settings. Use the built-in Windows or Mac calibration tools. Forum discussions note that Linux laptops lack built-in sliders, making colorimeter or manufacturer-provided ICC profiles the best option.
Is there a risk of calibrating?
No hardware risk — calibration only adjusts software settings and ICC profiles. The worst that happens is you create a profile you don’t like, and you can simply revert to the previous profile or reset to defaults. There’s no permanent damage possible from calibration software.
How to fix display calibration?
If colors look wrong after calibration, the quickest fix is to reload a known-good profile. On Windows, go to Color Management > Advanced and click “Reset.” On Mac, System Settings > Displays > Color Profile offers a “Reset” option under the Calibrate Display menu. If problems persist, reset your monitor to factory defaults via its OSD menu and start fresh.
More related posts
 Vodafone Quick Top Up Online Ireland Phone Numbers
 What Date is Mother’s Day? Ireland, UK & 2026 Dates
 Where to Stay in Malta: Best Areas for First Timers & Couples
 It Was Just an Accident (2025): Reviews, Plot & Streaming
 How to Make Natural Toothpaste: Easy Recipes at Home
 How to Remove Password from PDF: Free Online Methods
 Que Manger Apres Lentrainement – Complete Nutrition Guide
 Eye and Ear Hospital Dublin: Location, Appointments & Emergencies